Installation – Adapter with Chuck Guard (CG1KIT)

This page includes instructions to install the Chuck Guard Kit (CG1KIT) on your Caframo overhead stirrer.

Before You Start

  • Turn the stirrer OFF and disconnect power.
  • Remove any shaft/impeller from the chuck (if installed).
  • Work on a stable bench with good lighting.

Video Instructions

Instructions

Tip: Click any image to enlarge.
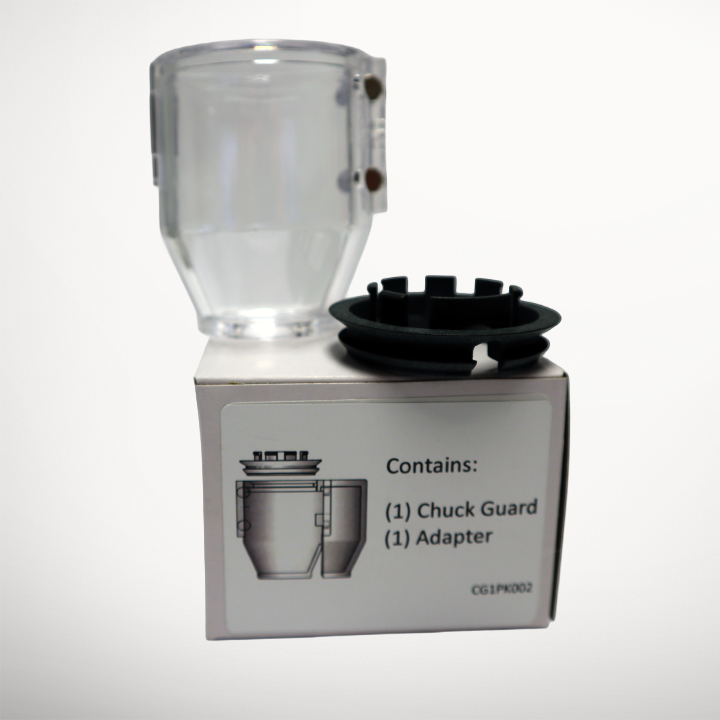
Chuck Guard Kit (CG1KIT) contents

Step 1 — Obtain Kit and Tools

Before Starting, you will need the following items:

  • CG1KIT – Includes adapter and chuck guard
  • Caframo chuck key with hex tool
  • Flathead screwdriver
Position chuck before removal Loosen set screw with hex tool
Chuck removed

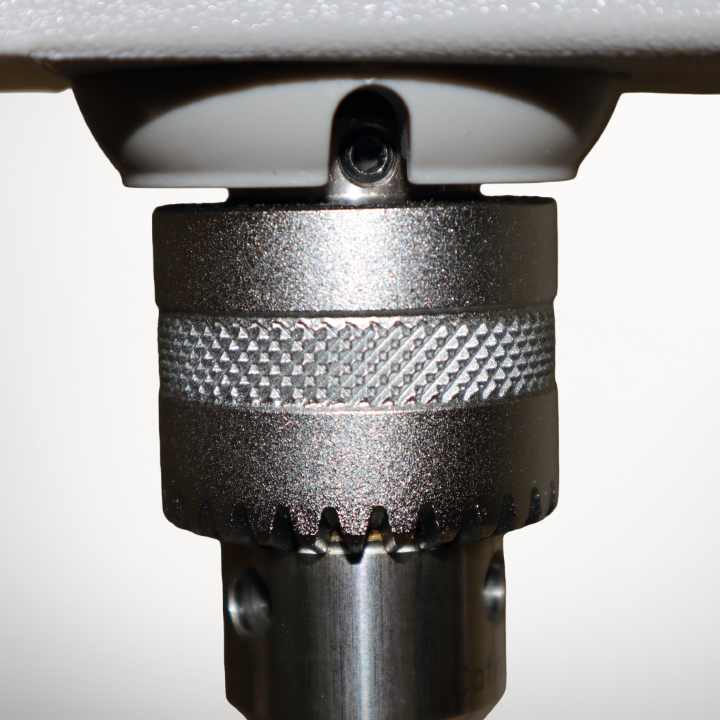
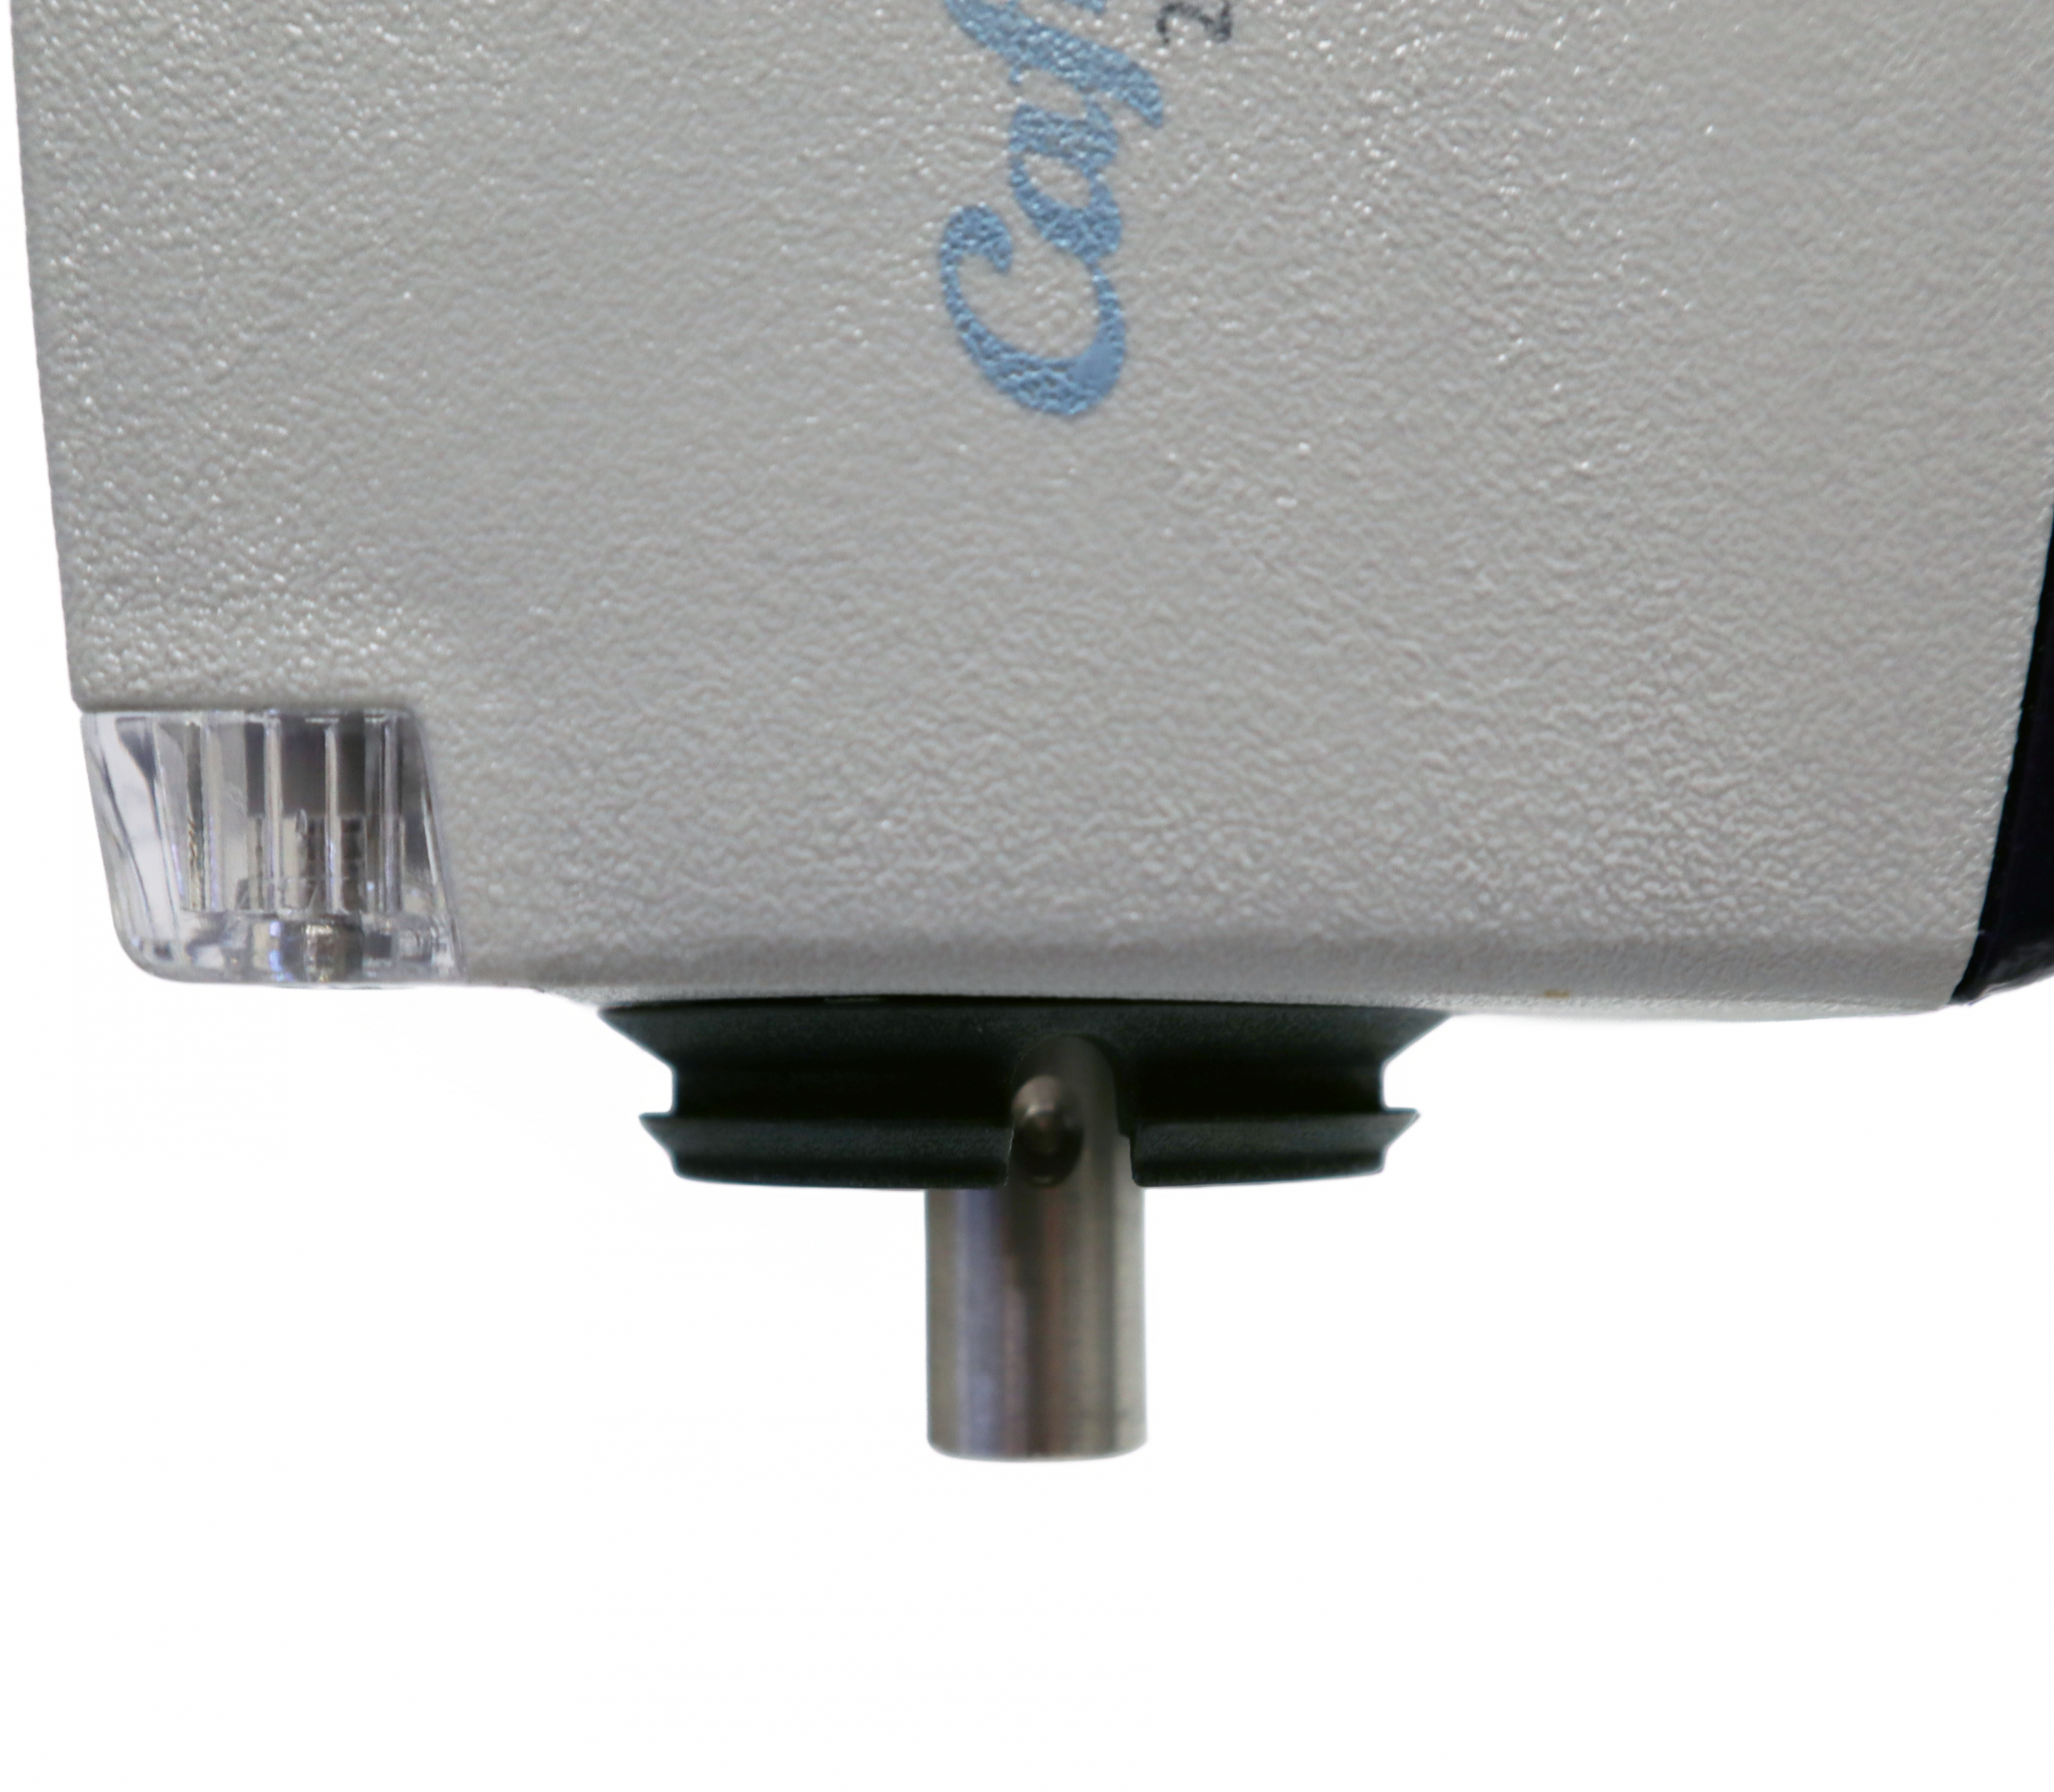
Step 2 — Remove the Chuck

  • Rotate the chuck until the set screw is visible.
  • Support the chuck with one hand to avoid dropping once loosened.
  • Using the hex tool end of the chuck key, loosen the set screw until it releases from the output shaft.
  • Slide the chuck off. The pilot hole will be visible on the output shaft.
Pry out existing collar Existing collar removed

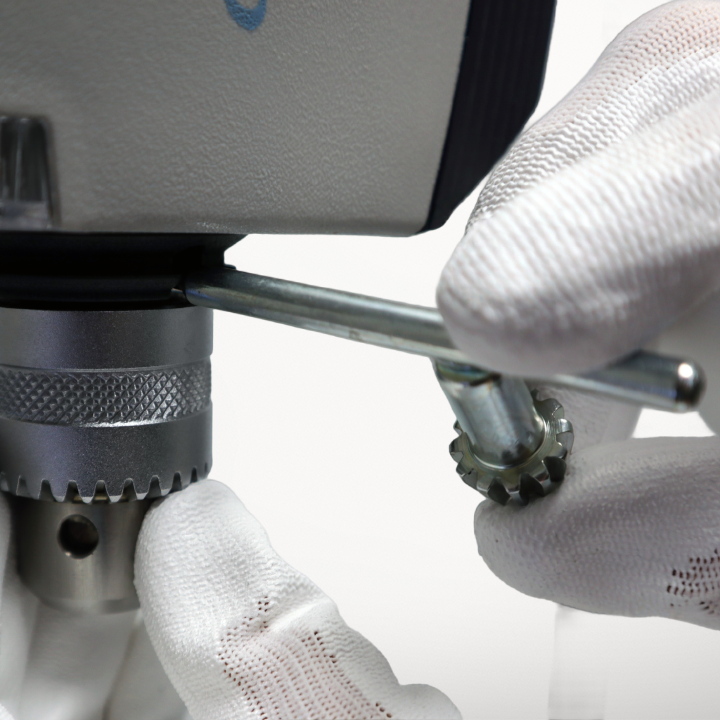
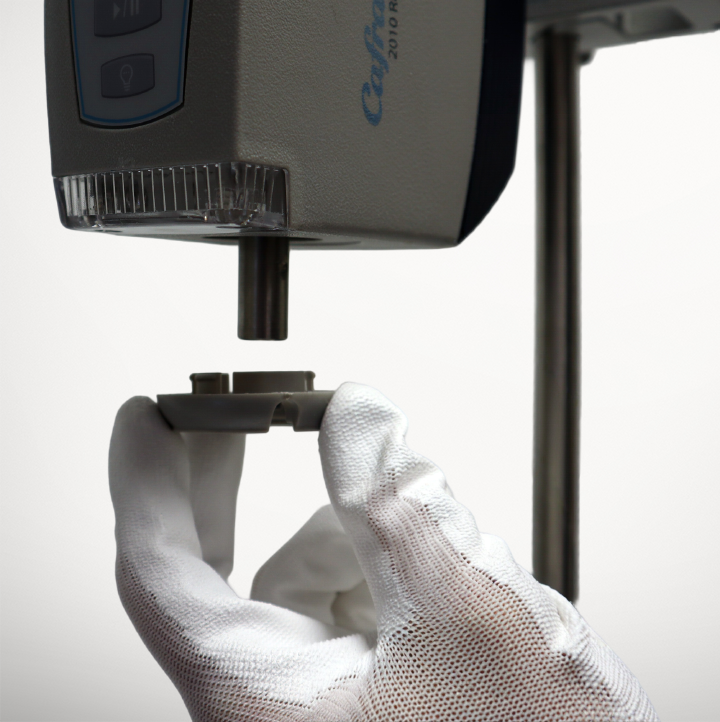
Step 3 — Remove Existing Collar

  • Using a flathead screwdriver, carefully pry the existing collar from the housing.
  • Work slowly around the collar edge to avoid damaging the housing or Stirlight cover.
Position adaptor collar Adaptor collar installed

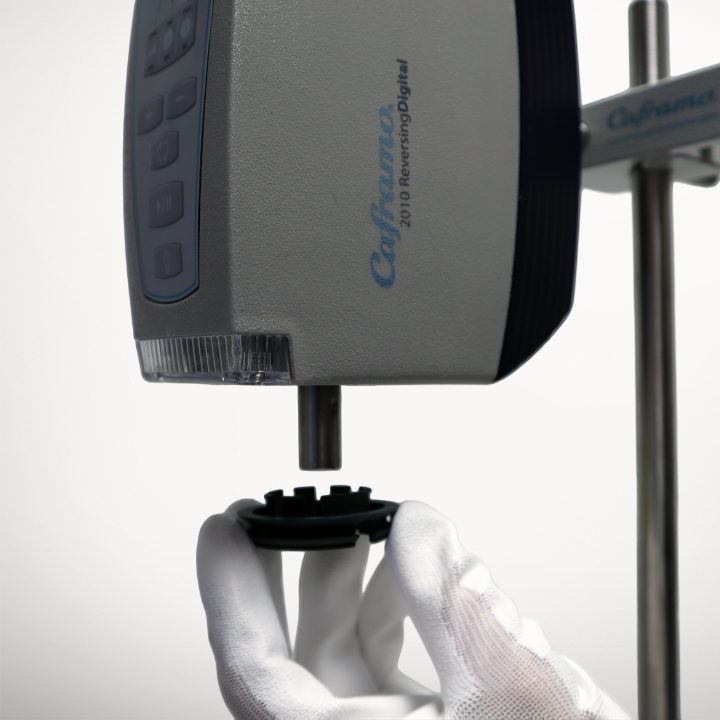
Step 4 — Install Adapter

  • Position the adaptor collar to the underside of the housing and rotate until pilot hole is visible.
  • Press the adaptor into the housing until fully seated.
Reinstall the chuck Secure chuck set screw

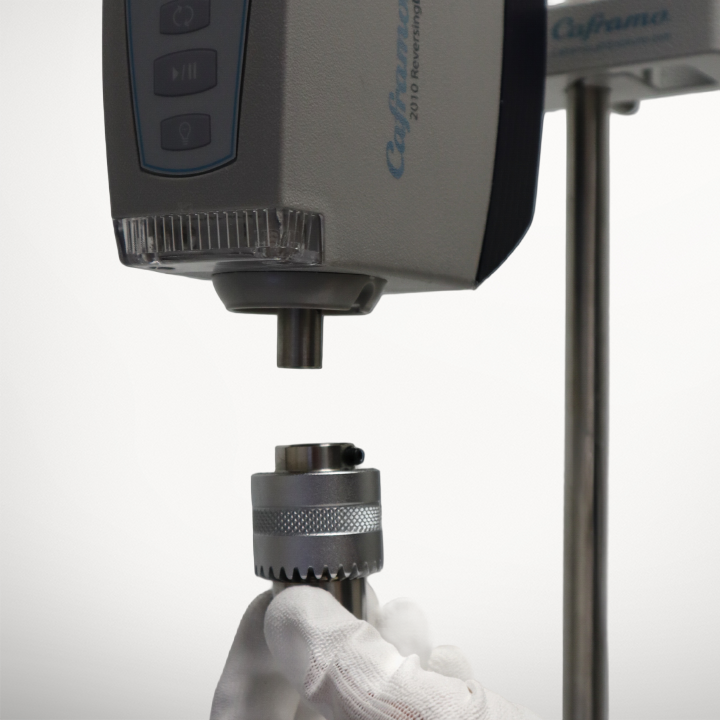
Step 5 — Reinstall the Chuck

  • Align the chuck’s set screw with the pilot hole on the output shaft.
  • If the pilot hole has shifted away from the groove, rotate the output shaft until it is visible.
  • Using the hex tool on the chuck key, tighten the set screw until it is firm (hand tight).
  • Confirm the set screw is seated securely in the pilot hole and the chuck is firmly seated.
Install chuck guard

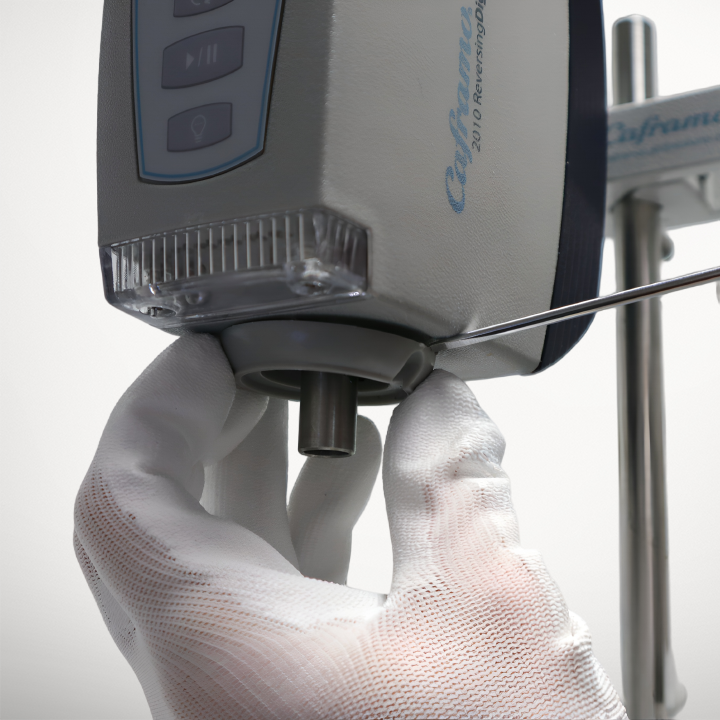
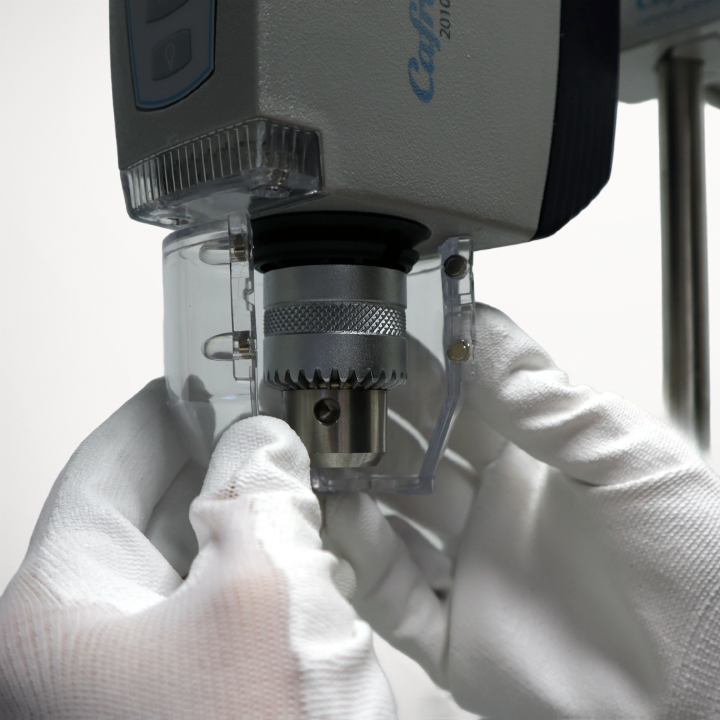
Step 6 — Install the Chuck Guard
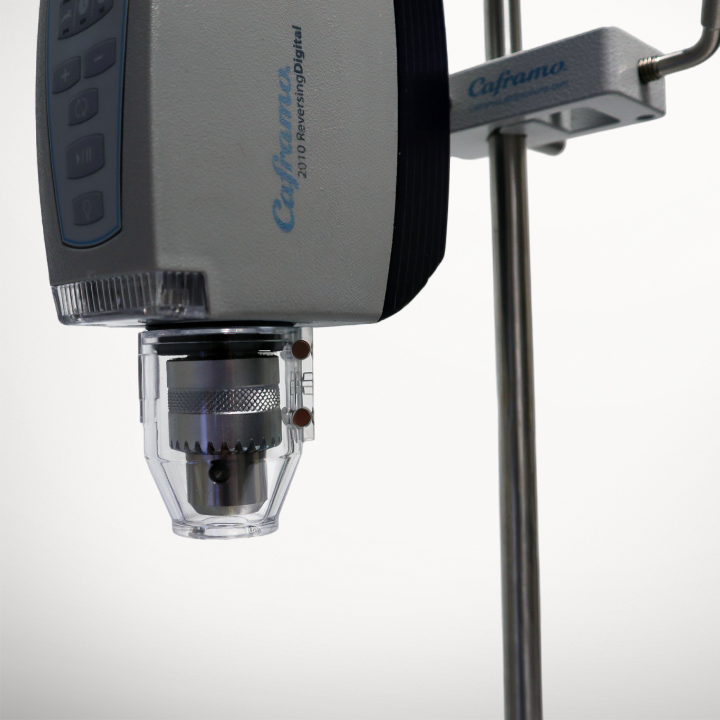
  • Open the chuck guard by pulling apart the magnetic fasteners.
  • Position the chuck guard to rest on the ring of the adaptor.
  • Close the chuck guard until held in place.
  • Confirm the chuck guard opens/closes freely and does not interfere with the chuck.
Finished chuck guard installation

Final Checks

  • Confirm the chuck guard is secure and seated correctly.
  • Confirm the chuck guard does not have contact with the chuck.
  • Reconnect the power. Operate at lowest rotational speed briefly to verify no obstruction or contact with the rotating chuck.